Why Proper Filter Setup Matters
A freshwater filter does more than just clear debris—it supports the entire nitrogen cycle by hosting beneficial bacteria and distributing oxygen throughout the tank. A poor setup can lead to inefficient filtration, stressed fish, and water quality problems. Taking the time to install your filter properly pays off in the long run.
Tools and Materials You’ll Need
-
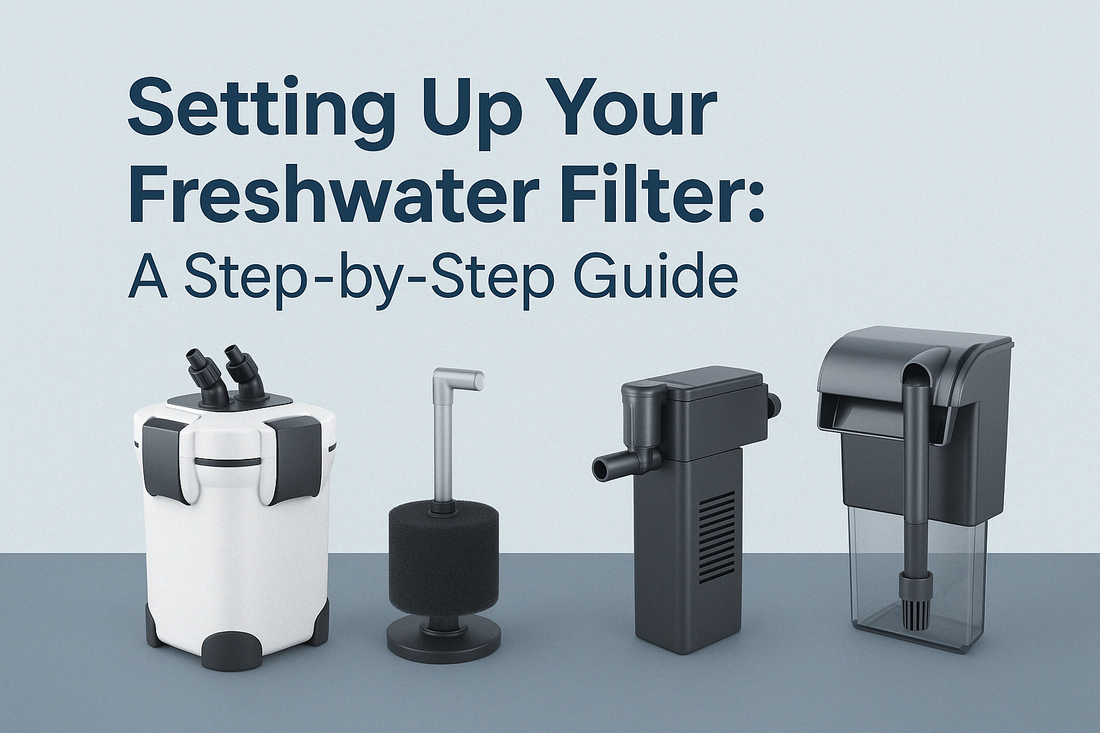
Your chosen filter (canister, internal, sponge, or hang-on-back)
-
Water conditioner (for tank water)
-
A bucket or container for priming
-
Scissors (for trimming tubing if needed)
-
Power strip or surge protector
Step-by-Step Filter Setup Instructions
1. Unbox and Inspect
-
Remove the filter from its packaging and ensure all components are included.
-
Read the instruction manual thoroughly. Each model may have unique requirements.
2. Assemble the Filter
Canister Filters:
-
Install all filter media (typically in order: mechanical → biological → chemical).
-
Connect intake and outflow hoses securely.
-
Attach suction cups or brackets where needed.
Internal Filters:
-
Assemble the media cartridge (if applicable).
-
Attach any outflow spouts or spray bars.
Sponge Filters:
-
Connect to an air pump using airline tubing and a check valve.
-
Optionally add an air stone inside the sponge for finer bubbles.
Hang-On-Back Filters (HOB):
-
Insert the filter cartridge.
-
Fill the filter body with tank water to help priming.
3. Prime the Filter
-
Canister: Fill the canister with dechlorinated water to remove air pockets.
-
HOB: Pre-fill the chamber to prevent dry starts.
-
Sponge & Internal Filters: Submerge them fully and allow them to saturate.
Some canister filters have manual or automatic priming buttons. Press until water begins to flow freely.
4. Install in the Aquarium
Canister Filter:
-
Place the unit below the tank. Secure intake and outflow tubes with suction cups.
-
Ensure hoses are tight and leak-free.
Internal Filter:
-
Attach it to the tank wall using suction cups. Make sure the output doesn’t cause strong currents near delicate plants or fish.
Sponge Filter:
-
Place it on the substrate in a corner. Use weights or suction cups to keep it in place.
HOB Filter:
-
Hang on the back wall of the tank. Adjust the water level if needed for proper siphon function.
5. Plug In and Test
-
Turn on the filter and observe water movement. You should see gentle circulation throughout the tank.
-
Listen for irregular noises, which may indicate trapped air or a loose impeller.
-
Check for leaks or drips around connections.
Tips for Success
✅ Rinse filter media in dechlorinated water before first use to remove dust or debris.
✅ Avoid over-tightening connections—it can cause cracking or leaks.
✅ Prime properly—most setup issues stem from air trapped in the system.
✅ Cycle your tank—your filter needs time to grow beneficial bacteria. Use a starter culture or add hardy fish gradually.
Final Thoughts
A properly set up freshwater filter is the backbone of a healthy aquarium. Whether you’ve chosen a canister for a large planted tank or a sponge filter for your shrimp colony, following these steps ensures your filter runs efficiently from day one. With products from trusted brands like Fluval, Oase, and Aqua One available at Charterhouse Aquatics, you’re set up for long-term success.


